Wednesday, August 27, 2014

VivaLasVegasStamps & StencilGirl Blog Hop


Welcome to the VivaLasVegasStamps & StencilGirl Blog Hop! 

Today I combined a stamp from VivaLasVegas and a few StencilGirl stencils to make a through back page in my art journal.

I used the following StencilGirl Products stencils on this page:

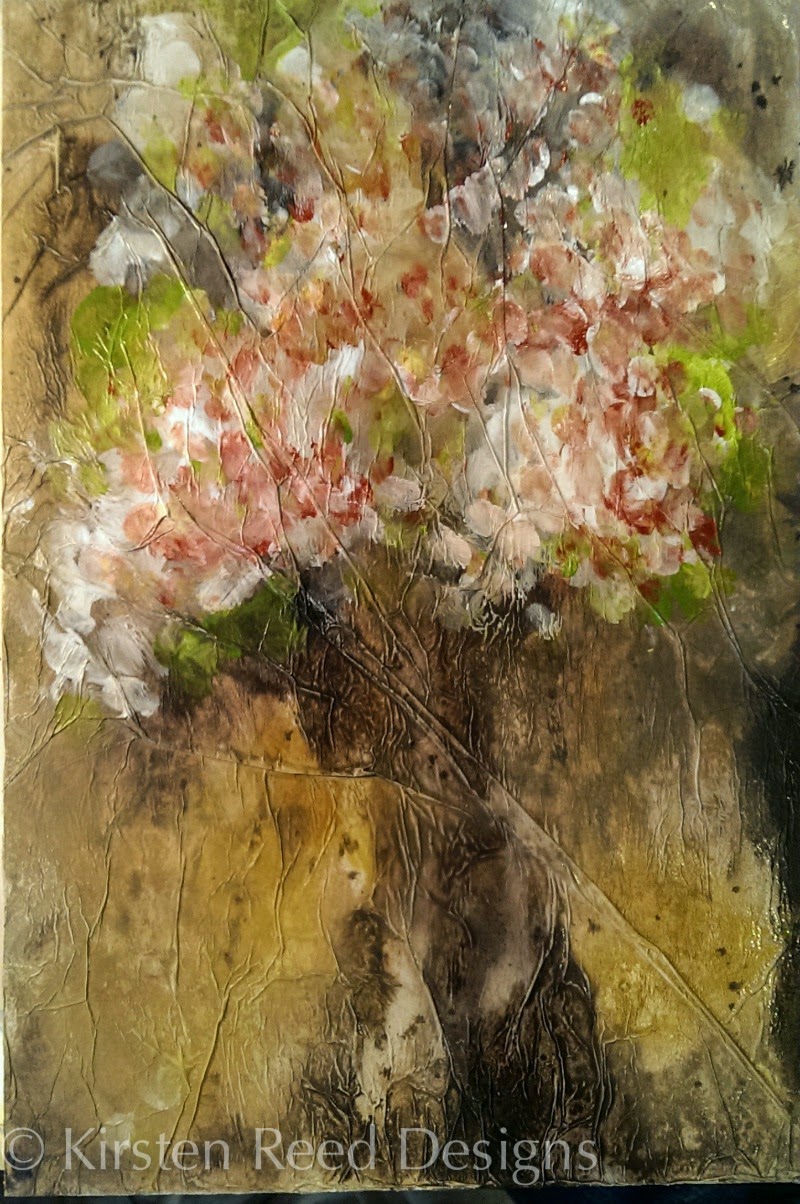
Framed #1 by Margaret Applin  Damask Medium by Michelle Ward  Buildings by Carolyn Dube


I began my page by collaging vintage book ledger sheets and tissue paper on the page.  I washed with a watered down coat of titanium white acrylic paint. I then used the Framed #1 stencil to make some division in the page with a pale yellow.


I then took an old photograph of the city Wuerzburg, in Germany, where I was born and did an image transfer.  I glued it down.


I then stamped the castle stamp on my journal page because Wuerzburg has a famous castle and actually, I took my daughter to a castle there where we spent the night on her 6th birthday.  See the castle stamp from this sheet of stamps from VivaLasVegas in the bottom left corner?


I added some paint elements with the Damask stencil over the top of the photo and along the edge of the journal page.


I added my title to the top of the page in black ~ "City of Birth".


If you enjoyed this tutorial, be sure to check my other free tutorials on my website at
  Kirsten Reed Designs or just follow me on Bloglovin' and get them delivered to your inbox!

Make sure you continue along the hop for inspiring ideas for paper crafting and stenciling!
Your BlogHop Hosts for the week are as follows:


Monday, August 25th

Tuesday, August 26th

Wednesday, August 27th
Kirsten Reed - you are here

Thursday, August 28th

Friday, August 29th

GIVEAWAY!!
Make sure you leave a comment because StencilGirl Products
will be counting every comment on each blog for all five days as an entry to win!  Good luck!

GIVEAWAY closes Sundday, August 31st  @ 11:59PM Central Time.
One comment per post please.

Friday, August 22, 2014

Food for Thought Friday


This one is for my buds... you know who you are! :) Happy Friday!

Thursday, August 21, 2014

Cutting Up with StencilGirl and Eileen Hull


Welcome to the team blog hop with StencilGirl and & Eileen Hull Inspiration!

For today's project, I used Eileen Hull's designed Sizzix Bigz Die -Flower Petal and Sizzix Scoreboard XL die photo album cuts.  I also used Eileen's Barn Wood stamp from Craffiti Direct.


I began with a light gray acrylic wash on the outside of the album covers.  I then used Maria McGuire's Doodle It Layered Petals stencil from StencilGirl Products to add a subtle floral to the cover with white acrylic paint.  I painted the binding edge in Naples Yellow Hue and painted the petals of the flower to match.


I used Tim Holtz tissue to cover the inside of the album.  Mostly because I am a sloppy painter! :)


After the petals were painted and dried, I stamped them in white and then in gray for texture and interest.  I glued a small piece of tissue in the center of the flower to add a bit of fun to the flower.


Now when I am ready, I can add pages of photos, blank pages for journaling or notes or lined pages for addresses! I haven't quite decided what it will be used for yet!


If you enjoyed this tutorial, be sure to check my other free tutorials on my website at
  Kirsten Reed Designs or just follow me on Bloglovin' and get them delivered to your inbox!

Make sure you continue along the hop for inspiring ideas for paper crafting and stenciling!
Your BlogHop Hosts for the week are as follows:

Monday, August 18th

Tuesday, August 19th

Wednesday, August 20th

Thursday, August 21st
Kirsten Reed - you are here

Friday, August 22nd
Pam Keravuori

GIVEAWAY!!
Make sure you leave a comment because StencilGirl and Eileen Hull 
will be counting every comment  for all four days as an entry to win!  Good luck!

GIVEAWAY closes Sunday, August 24th @ 11:59PM Central Time.
One comment per post please.

Monday, August 18, 2014

Progression of a painting

I often sit down to paint and have no idea what I am "feeling" or "seeing".  It has truly been the case of late.  I started this painting and immediately it became a bouquet of flowers.

I actually liked it at this point. It reminded me of an impressionistic bouquet of flowers.  Very soft and subtle.


But then, I added and added and I hated it.


So in an attempt to rescue it, I started painting "out" things.  A heart?


Nah...wasn't feeling the heart thing.  I added in more green thinking it reminded me of a field of wild flowers now.


But, then it got very chaotic again.  I wasn't seeing enough balance and it was too much all the same size flower for me. So there it sat ~ until...


it became an owl. Of course.  She was wiser than me and knew I had to come to her slowly!


So maybe you have a painting, project, or something in your life you are trying to form.  Keep on trying and eventually it will come to you!  I think I am going to try and re-create the first bouquet and leave it alone!

Saturday, August 16, 2014

Around here this week...

School officially started :( and I now have a senior and a freshman....who drove to school together! It just makes me want to punch time in the face!


Soccer season is in full swing.  Although she has been practicing since June, we had our first home game this week.  For most of the fall this is where you will find me in the evenings.  I will treasure each game I get to attend.


We've been eating lots of farm fresh tomatoes and caprese salads.  This one we added in some cucumber because we have such an abundance, so officially not a caprese, but still yummy!


My sweet girl is studying hard for her last (hopefully) time taking the ACT.  I think she just wants this part behind her and a definite plan for her college so she enjoy her senior year.


We added this handsome little rescue to our family.  His name is Gus and he is a yorkie mix. He is about 4 months old and playful, sweet and funny.  He loves to snuggle and likes to hide in my pantry for a nap! And he keeps me very busy!


I just can't get enough of his face!!


That's about all to report! Hope your lives are full and blessed!

Thursday, August 14, 2014

Mama has a new toy


And it is called a Graco TrueCoat Plus II paint sprayer!

Seriously, I love this new toy and it has ignited a spark to take all those "basement projects" out of the basement and get them done!


My first set of victims were: an old stool, a step ladder, and an old chair I picked up at the flea market in Belgium.


I made sure I had a nice open area in my backyard and lucky for me, it was an unusually cool summer day.  I wore eye protection and mask to keep from inhaling paint and getting paint in my eyes.


For my pieces I used Annie Sloan Chalk paint in cream.  It is really more like a pale yellow.  Very pretty.  I like the idea of Annie Sloan paint because it virtually eliminates prep work ~ no priming or sanding necessary.  My local stockist is C'est Moi in Brentwood and they also happen to sell my art ~ be sure to support them!

After a quick coat of paint, and I mean QUICK ~ like 15 minutes for all three pieces!!~ I applied a coat of Annie Sloan clear wax and buffed it out.  I then applied dark wax in certain areas of the pieces to give it a worn look.


Here are all three pieces finished.


A close up of the chair details.


I covered the old seat with batting and leftover fabric from my couch in my studio.


And one with my newest puppy taking center stage!


Hope you are inspired to pull out some of your basement projects and give them new life too!

Wednesday, August 13, 2014

I'm gonna be a rock star!

well, sort of...


Got a call a few weeks ago from a musician friend of mine from school.  He wanted to buy my painting, Peacock Dreams.  I was so thrilled and flattered, as I always am when I get that artist approval/affirmation from someone.  He proceeded to ask me if he could use it as his album cover for his album that will be released next spring.  Of course, I said yes!

Here is a link to his site ~ Brian Peet ~ for your listening pleasure! Be sure to leave him a comment and let him know you stopped by!

So although I am not a rock star, it kind of feels like it. :)


Monday, August 11, 2014

Moving South!

I am so excited and happy to announce my work will be back in my hometown of Niceville, Florida!


Friends in the panhandle, you can now purchase my artwork in person at Southern Agenda Gifts in Bluewater Bay /Niceville.  I am so honored to be part of this business and bringing my art back home!

Go by, check it out if you are not already a regular customer and see some of the pieces for sale.

Friday, August 8, 2014

Monday, August 4, 2014

Praise What You Want to Flourish


About a year or so ago, my dear friend Stephanie asked me to paint over a canvas she had in her living room.  She wanted something that had significant meaning to her family because it would hang in a central part of her home.

Months went by, before she called me one day and said, "I've got it! I know exactly what I want you to paint!"  She told me the phrase, "Praise what you want to Flourish".  

I loved it.

It's so true, short, and a perfect guide for anyone.  Later she decided it had to be an olive tree.


I began to transform the red canvas painting to something entirely different.  I collaged these bible verses on the background about praise:

But I am like an olive tree
flourishing in the house of God;
I trust in God’s unfailing love
for ever and ever.
For what you have done I will always praise you
in the presence of your faithful people.
And I will hope in your name,
for your name is good.

Praise the Lord, my soul;
 all my inmost being, praise his holy name.
Praise the Lord, my soul,
 and forget not all his benefits—
who forgives all your sins
 and heals all your diseases, 
who redeems your life from the pit
 and crowns you with love and compassion,
who satisfies your desires with good things
 so that your youth is renewed like the eagle’s.

I wrote special prayers of protection and peace to her and her family.  I knew most of this would be covered, but I firmly believe in writing hidden messages in my art.


I sketched out the olive tree and added a color wash.  I wanted knotted tree limbs that looked thousands of years old.


I stared at it for a looooooong time in this stage. I wasn't sure how to make it look like an old olive tree with all the deep divots and pits and twisty limbs.


Then it hit the awkward teenager stage.  I think my husband was a little worried if I could pull it off at this stage (and frankly so was I!).  I dreamt about this painting...and not in a good way.


I woke up with a daring attitude that you can only have when you feel you have hit rock bottom.  I decided to transform the shape and paint out some of the tree area to make it look better.  What did I have to lose?


And it was about this time, I knew I was going to be okay.  The tree was starting to actually look like a tree.  I cut several hundred tiny leaves out of paper I hand painted in different shades of green to help the tree gain dimension and texture.


And a couple hundred more leaves.... lots and lots of leaves!!


I added the phrase and some finishing touches.


And voila! It was done! I then fretted over the whole "what if she doesn't like it??" thought process.


She drove in town one weekend and picked it up ~ she loved it!


Hope you enjoyed watching my process on a commissioned project! Let me know your thoughts below, I love to hear from you and I read every comment!